Thanks to rims that stick out further than the rubber on the tires, curb rash is almost inevitable on Tesla Model Y’s and Model 3’s. Even if you think you drive like Mario Andretti, if you sneeze by a curb you are going to get a rash. Thankfully there is an easy DIY fix.
So put down that black Sharpie, and let’s fix your Tesla curb rash properly.
What is Curb Rash?
Curb rash, often referred to as curb damage or curb scuffs, is a prevalent issue in the automotive world, characterized by scratches, nicks, and abrasions on a vehicle’s wheel rims. It typically occurs when a driver misjudges their vehicle’s proximity to a curb while parking or navigating tight spaces, resulting in unintended contact between the wheel and the curb.
Curb rash is a common problem with Tesla vehicles, as it is with many others, primarily due to their large, low-profile alloy wheels that extend close to the edges of the tires. These striking and stylish wheel designs, while visually appealing, leave little room for error and can be more vulnerable to curb damage.
Additionally, Tesla’s electric cars often boast impressive acceleration, making parking and manoeuvring a bit more challenging, which can contribute to a higher incidence of curb rash. However, with the availability of wheel touch-up solutions and greater awareness of this issue, Tesla owners can easily address and repair curb rash to maintain the aesthetic appeal of their vehicles.
How Much Does Tesla Rim Repair Cost?

Taking your car to a rim repair shop is not cheap. You are looking at upwards of $100 per tire to fix an issue that took seconds to occur. If you are keen to tackle this on your own you can do so for under $20 and with 30 minutes of your time.
In my example, I had a light scuff thanks to not turning my wheel enough in my tight parking stall. I have a cement pillar on one side that I hug up against to give my neighbour extra room and touched it ever so slightly. ?
Tesla Curb Rash Repair Supplies
Ready to tackle that Tesla rim repair yourself? Here’s what you need:
- 400 to 600 grit sandpaper
- Spray paint
- Painters tape
- Garbage bags or Drop Cloths
- Rags
- Towel or blanket to kneel on
Note: For my black Induction wheels I used Rust-Oleum 248929 Matte Black spray paint. For grey Aero or Gemini wheels, use Dupli-Color AFM0360 Dark Shadow Gray Ford Exact-Match Scratch Fix All-in-1 Touch-Up Paint. This comes in a pen form and will avoid the steps of masking off the wheel and car.
Tesla Rim Repair Steps
Now that you’ve got your supplies, let’s begin.
1) Prepare the Surface
The first step is to clean the surface and remove any debris. This stops dirt and dust from getting into the wet paint. Use a rag and water then wipe dry.
2) Sand the Affected Area
Using an edge of the sandpaper, carefully and lightly sand the area until the surface is smooth. The depth of your scrape will determine how long this will take.


Once done, wipe the area again to remove the dust created by sanding. Feel the surface and repeat if necessary. If you are happy with the area, cover it off with the painter’s tape, leaving only the damaged area exposed.

3) Cover Off The Tire and Car
Next, use the garbage bags or drop cloths to cover the tire and surrounding area. This is to prevent any paint from accidentally going where it shouldn’t.

4) Paint the Affected Area
Shake the can as instructed on the label then, holding the can 8 to 10 inches from the area, spray in one sweeping motion. Wait 10 minutes and repeat.


5) Remove Tape and Garbage Bag
If coverage is adequate, carefully remove the painter’s tape while the paint is still wet. Remove at a 45° angle then remove all the bags and remaining tape. Wait two hours before driving to allow the paint to cure.
You’re Done!
There you have it. 30 minutes of your time and minimal effort to get rims that look new again.

NOTE: Next time (and there will be a next time) I will also tape it off before sanding. In this example, I covered some of the areas I lightly sanded so I missed it when painting. The result is less than perfect but not noticeable from a distance.
All-in-One Tesla Wheel Repair Kit
If you want to make your Tesla rim repair job quicker and even easier, you can now pick up all the required parts in a Tesla rim repair kit!
This Tesla wheel touch-up paint offers an affordable solution to make curb rash vanish effortlessly on Model Y Induction, Gemini, and Performance model rims. It provides an excellent colour match, professionally mixed by automotive finish experts, ensuring your wheels look like new.
The DIY application is a breeze, with no need for primer or clear-coat sealant. The package includes paint, sanding tools, and easy step-by-step instructions for a user-friendly process. While it’s designed to match the black 20-inch Tesla Model Y Induction wheels, the exact match may vary based on several factors, including wheel condition, preparation, application precision, and temperature. So, if you’re looking for a cost-effective, quality solution to fix Tesla curb rash, this product is worth considering.
What To Do With Deep Rim Gouges?
Again, my Tesla curb rash in this example was very minimal. This method will still work for large repairs but will not fill deep gouges. For that, you will need to apply a filler like Bondo before painting. Let dry and sand to a smooth finish before painting.
There’s also an all-in-one product by T-Sportline for deeper gouges. This filler and paint combo comes in gloss and matte finish for grey and black wheels and is around $30 for a small bottle. I have not tried this so if anyone has experience with it let me know how well it works in the comments below!
How to Avoid Curb Rash? – The Best Fix is Prevention
Although this method is super simple, the best fix is preventing curb the rash in the place. If you are curb rash-prone like me, consider installing these Rim Protectors. It’s essentially a firm plastic trim for your rims. They come with a 5-year warranty that includes replacement if damaged, or essentially doing what they are designed to do!
Tesla Rim Repair Alternative
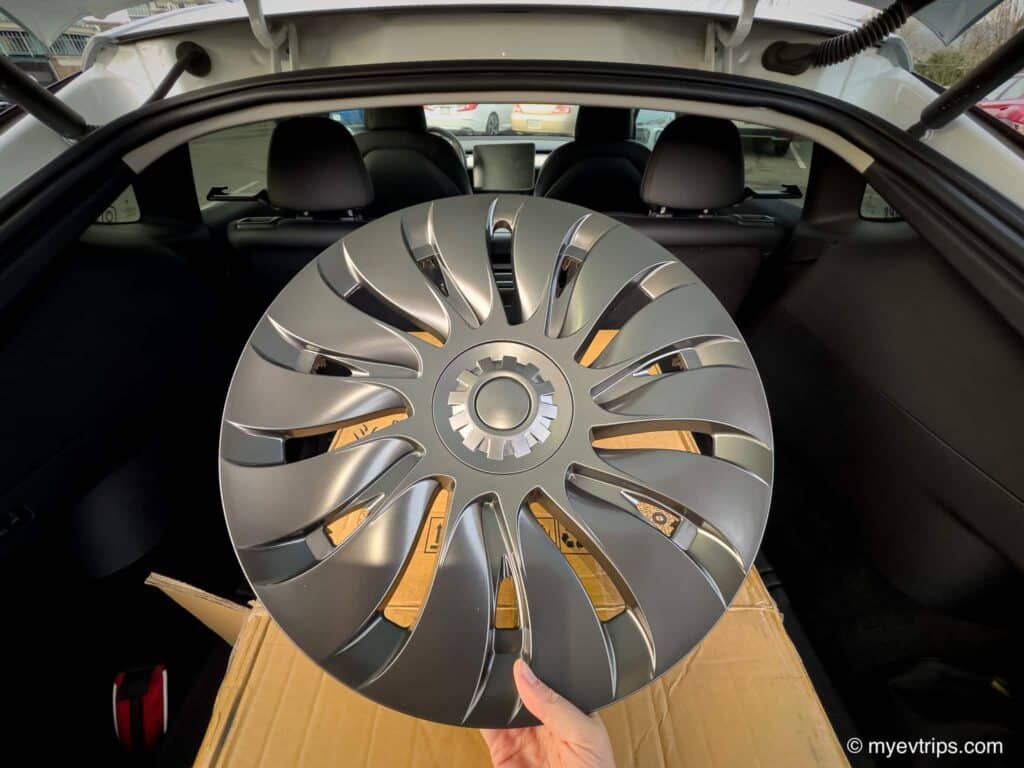

If you have Gemini Wheels you can replace the covers with stylish Uberturbine ones. These will prevent the damage of the rims themselves. You will still have to replace the wheel cover if badly damaged but a much easier way to deal with curb rash if you choose. I have tried out Yeslaks Uberturbine wheel covers and can recommend them. The best part, you can get 25% off with promo code MYEV.
Tesla Curb Rash No More!
There you have it, five quick steps to fixing scuffs and dings from your rims. Let me know how you make out with your repairs in the comments below. I am curious about the T-Sportline products so looking for some feedback!
SAVE ON A NEW TESLA!
Thinking of buying a Tesla? Use this referral link to get up to $1,300 off!*
*As of August 2024, Tesla has reinstated its referral program and introduced attractive financing options!